35 STEPS
1
Click highlight
2
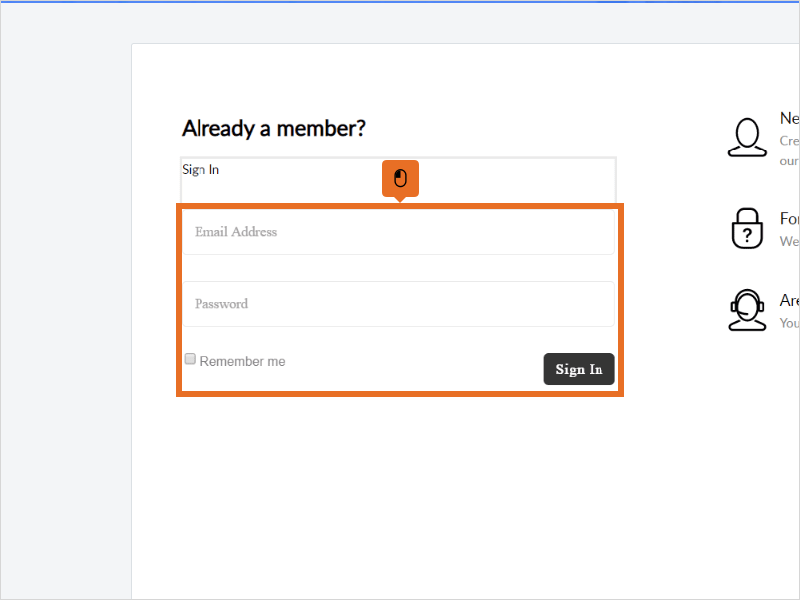
The first step is to open Service & Support | Sign In at https://support.itpipes.com ad login. The user inputs Email Address, password, and selects signin.
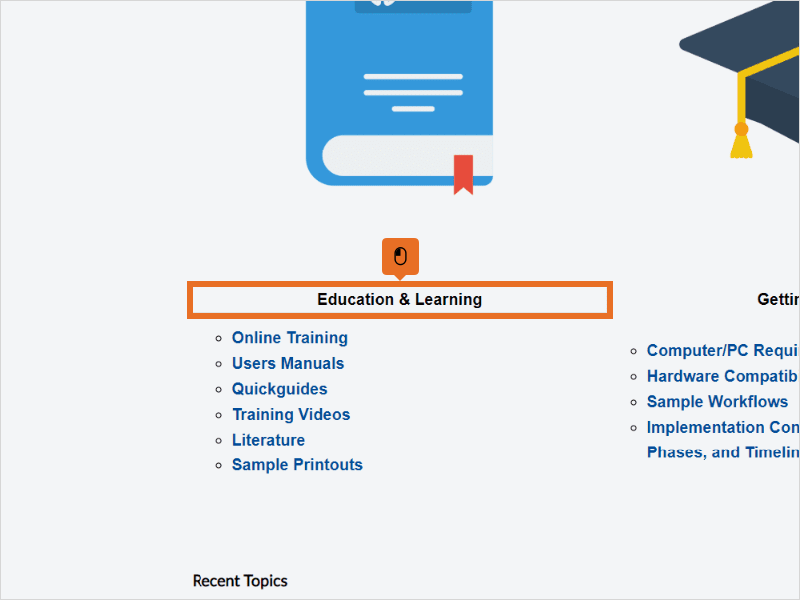
3
There is an Education & Learning section that has manuals, videos, printouts and more.
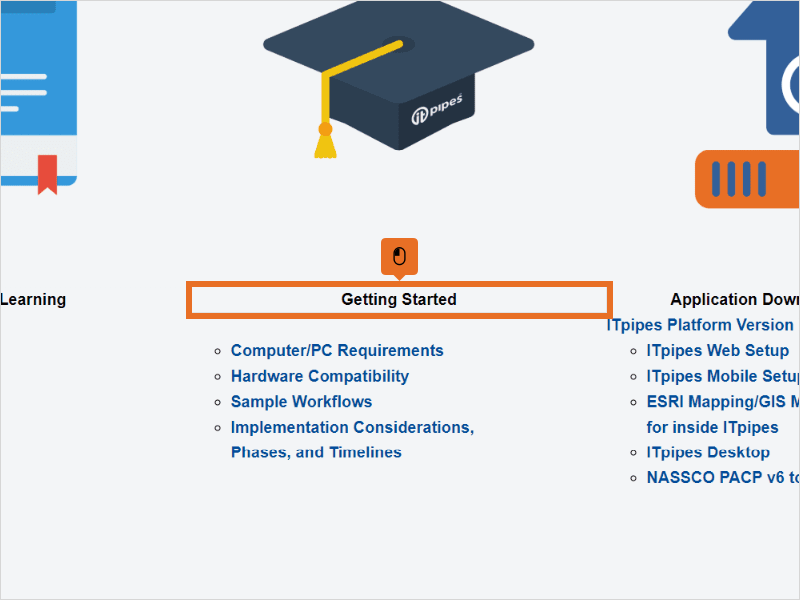
4
There is a Getting Started section that has hardware information, workflow samples, articles on implementation.
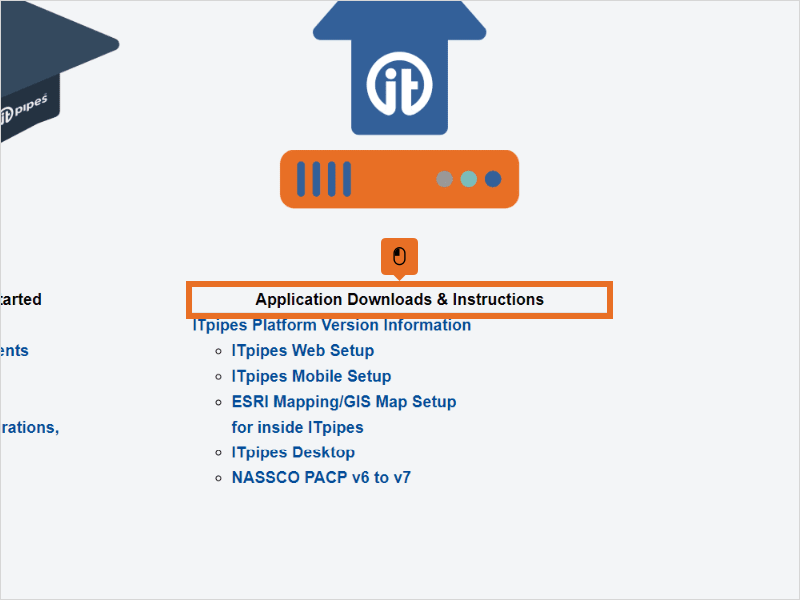
5
There is an Application Download & Instructions section that has product downloads and instructions.
6
The top menu has a My Area that has info on the logged in user’s tickets, topics and the logged in user’s “teams” tickets and topics.

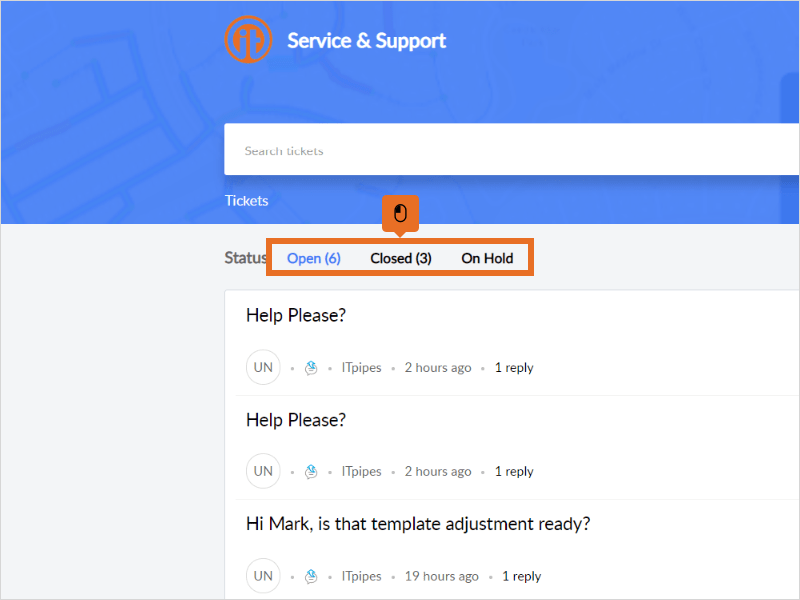
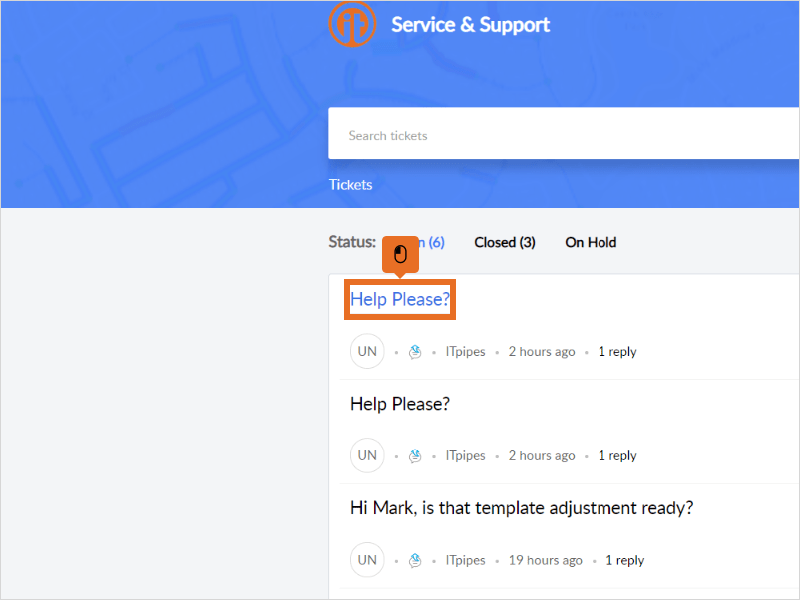
7
The user can see tickets Open, Closed, or On Hold.
8
The user can select Team and see all tickets for users within the same company.
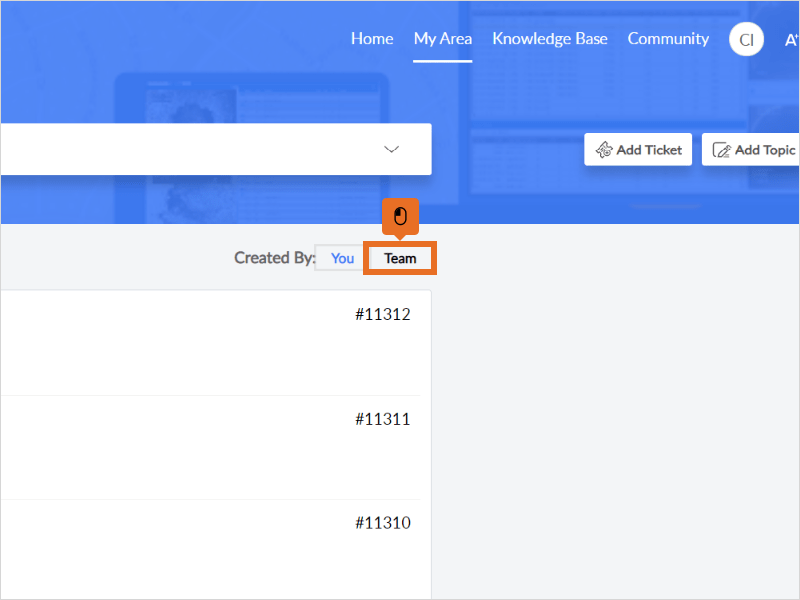
9
The user can see overall details on the ticket.
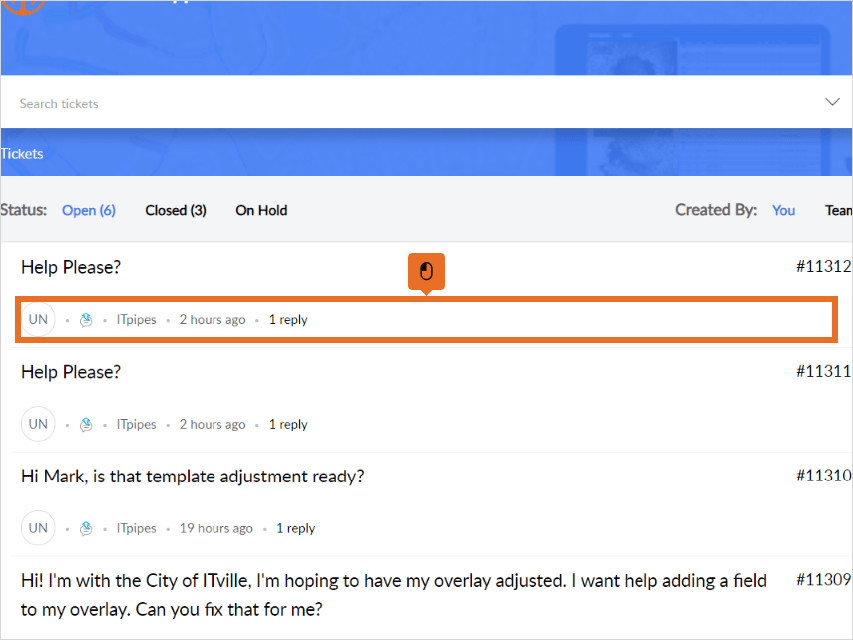
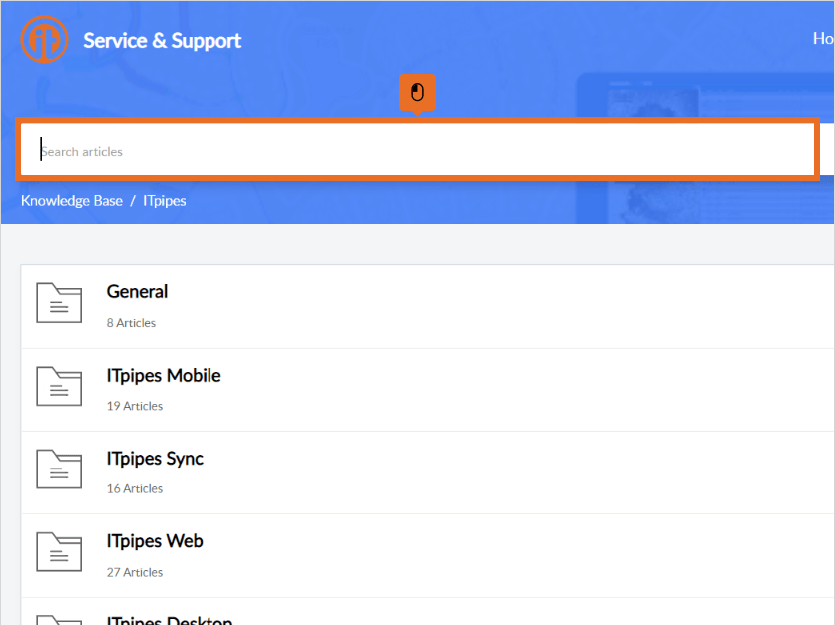
10
To see detail on a ticket, the user can select the ticket title, for example: Help Please?
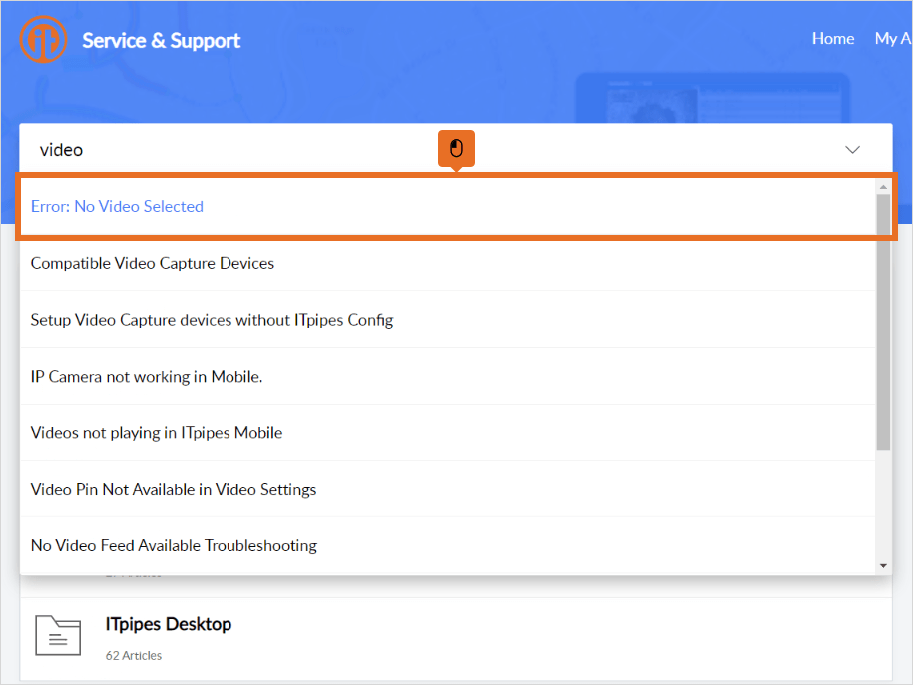
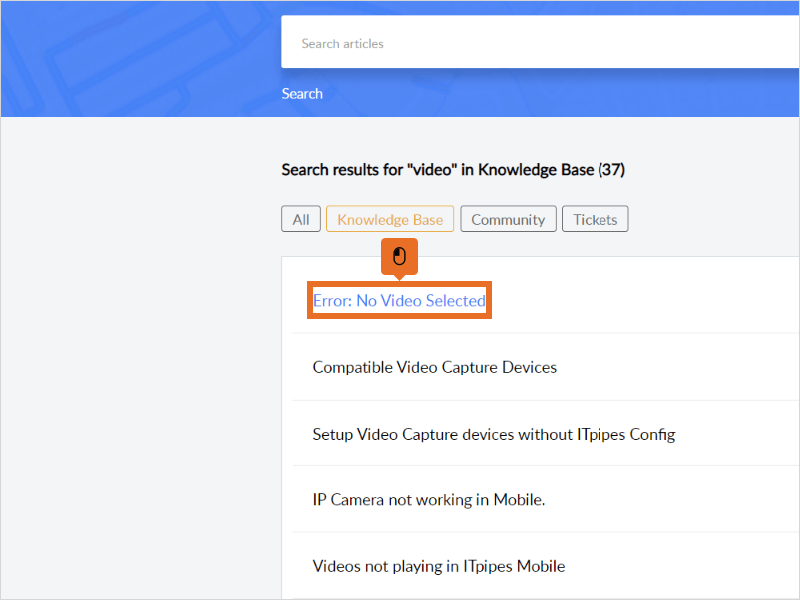
11
This opens the ticket with detailed chat information, email correspondence, or notes from the tech support team.

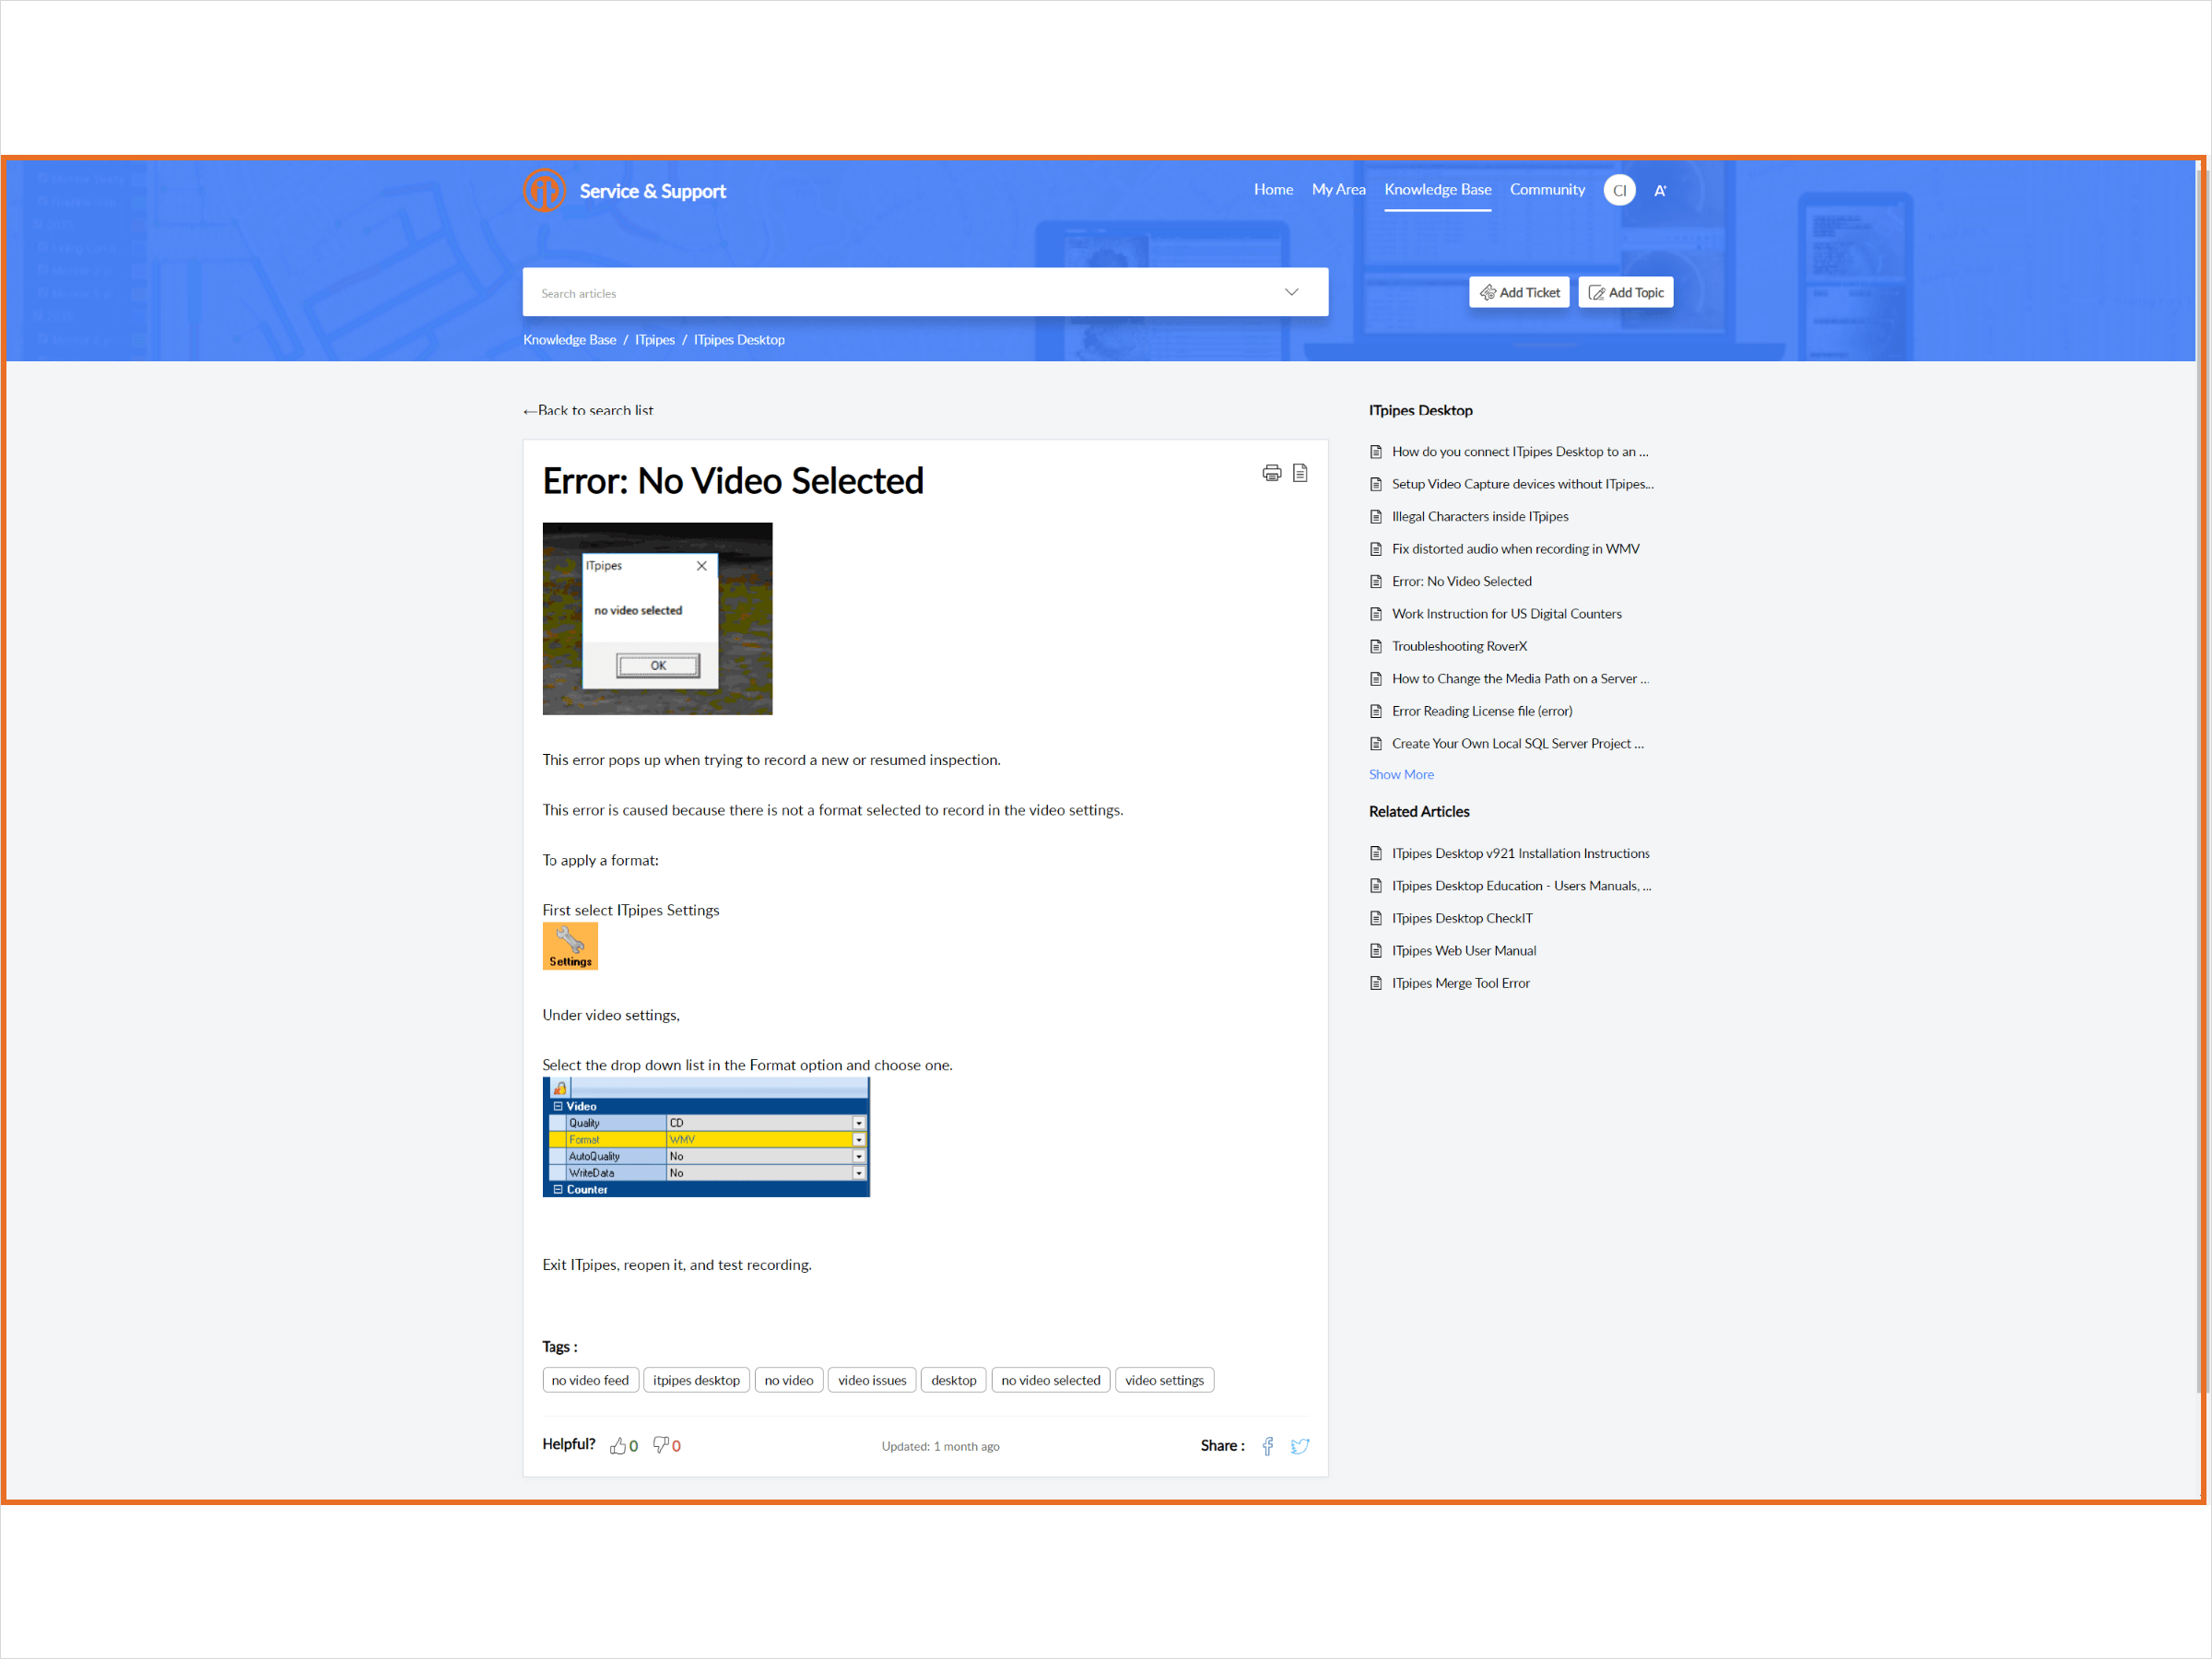
11b
Drop

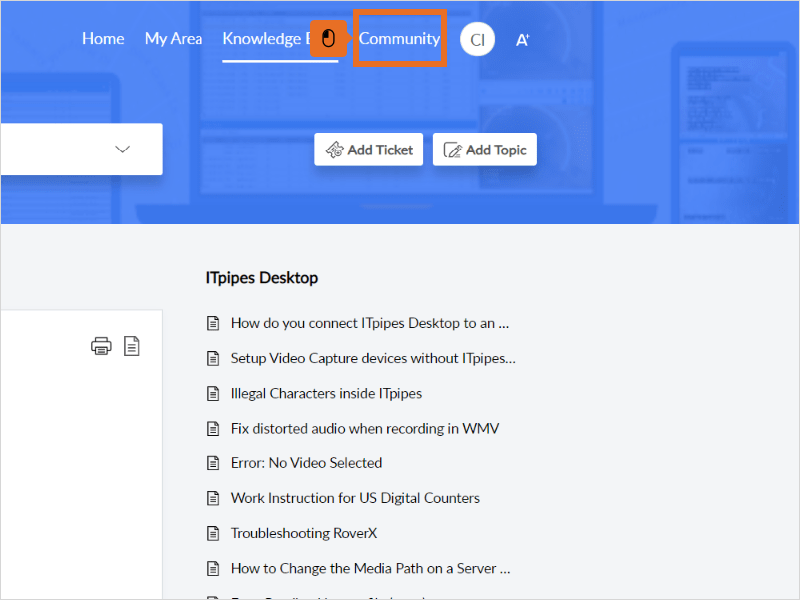
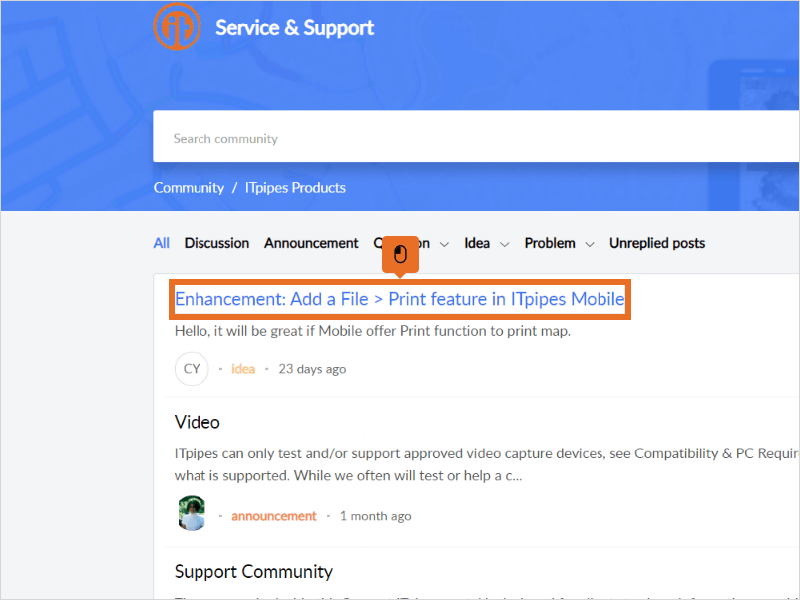
12
On the right window, detailed fields for the ticket are visible.
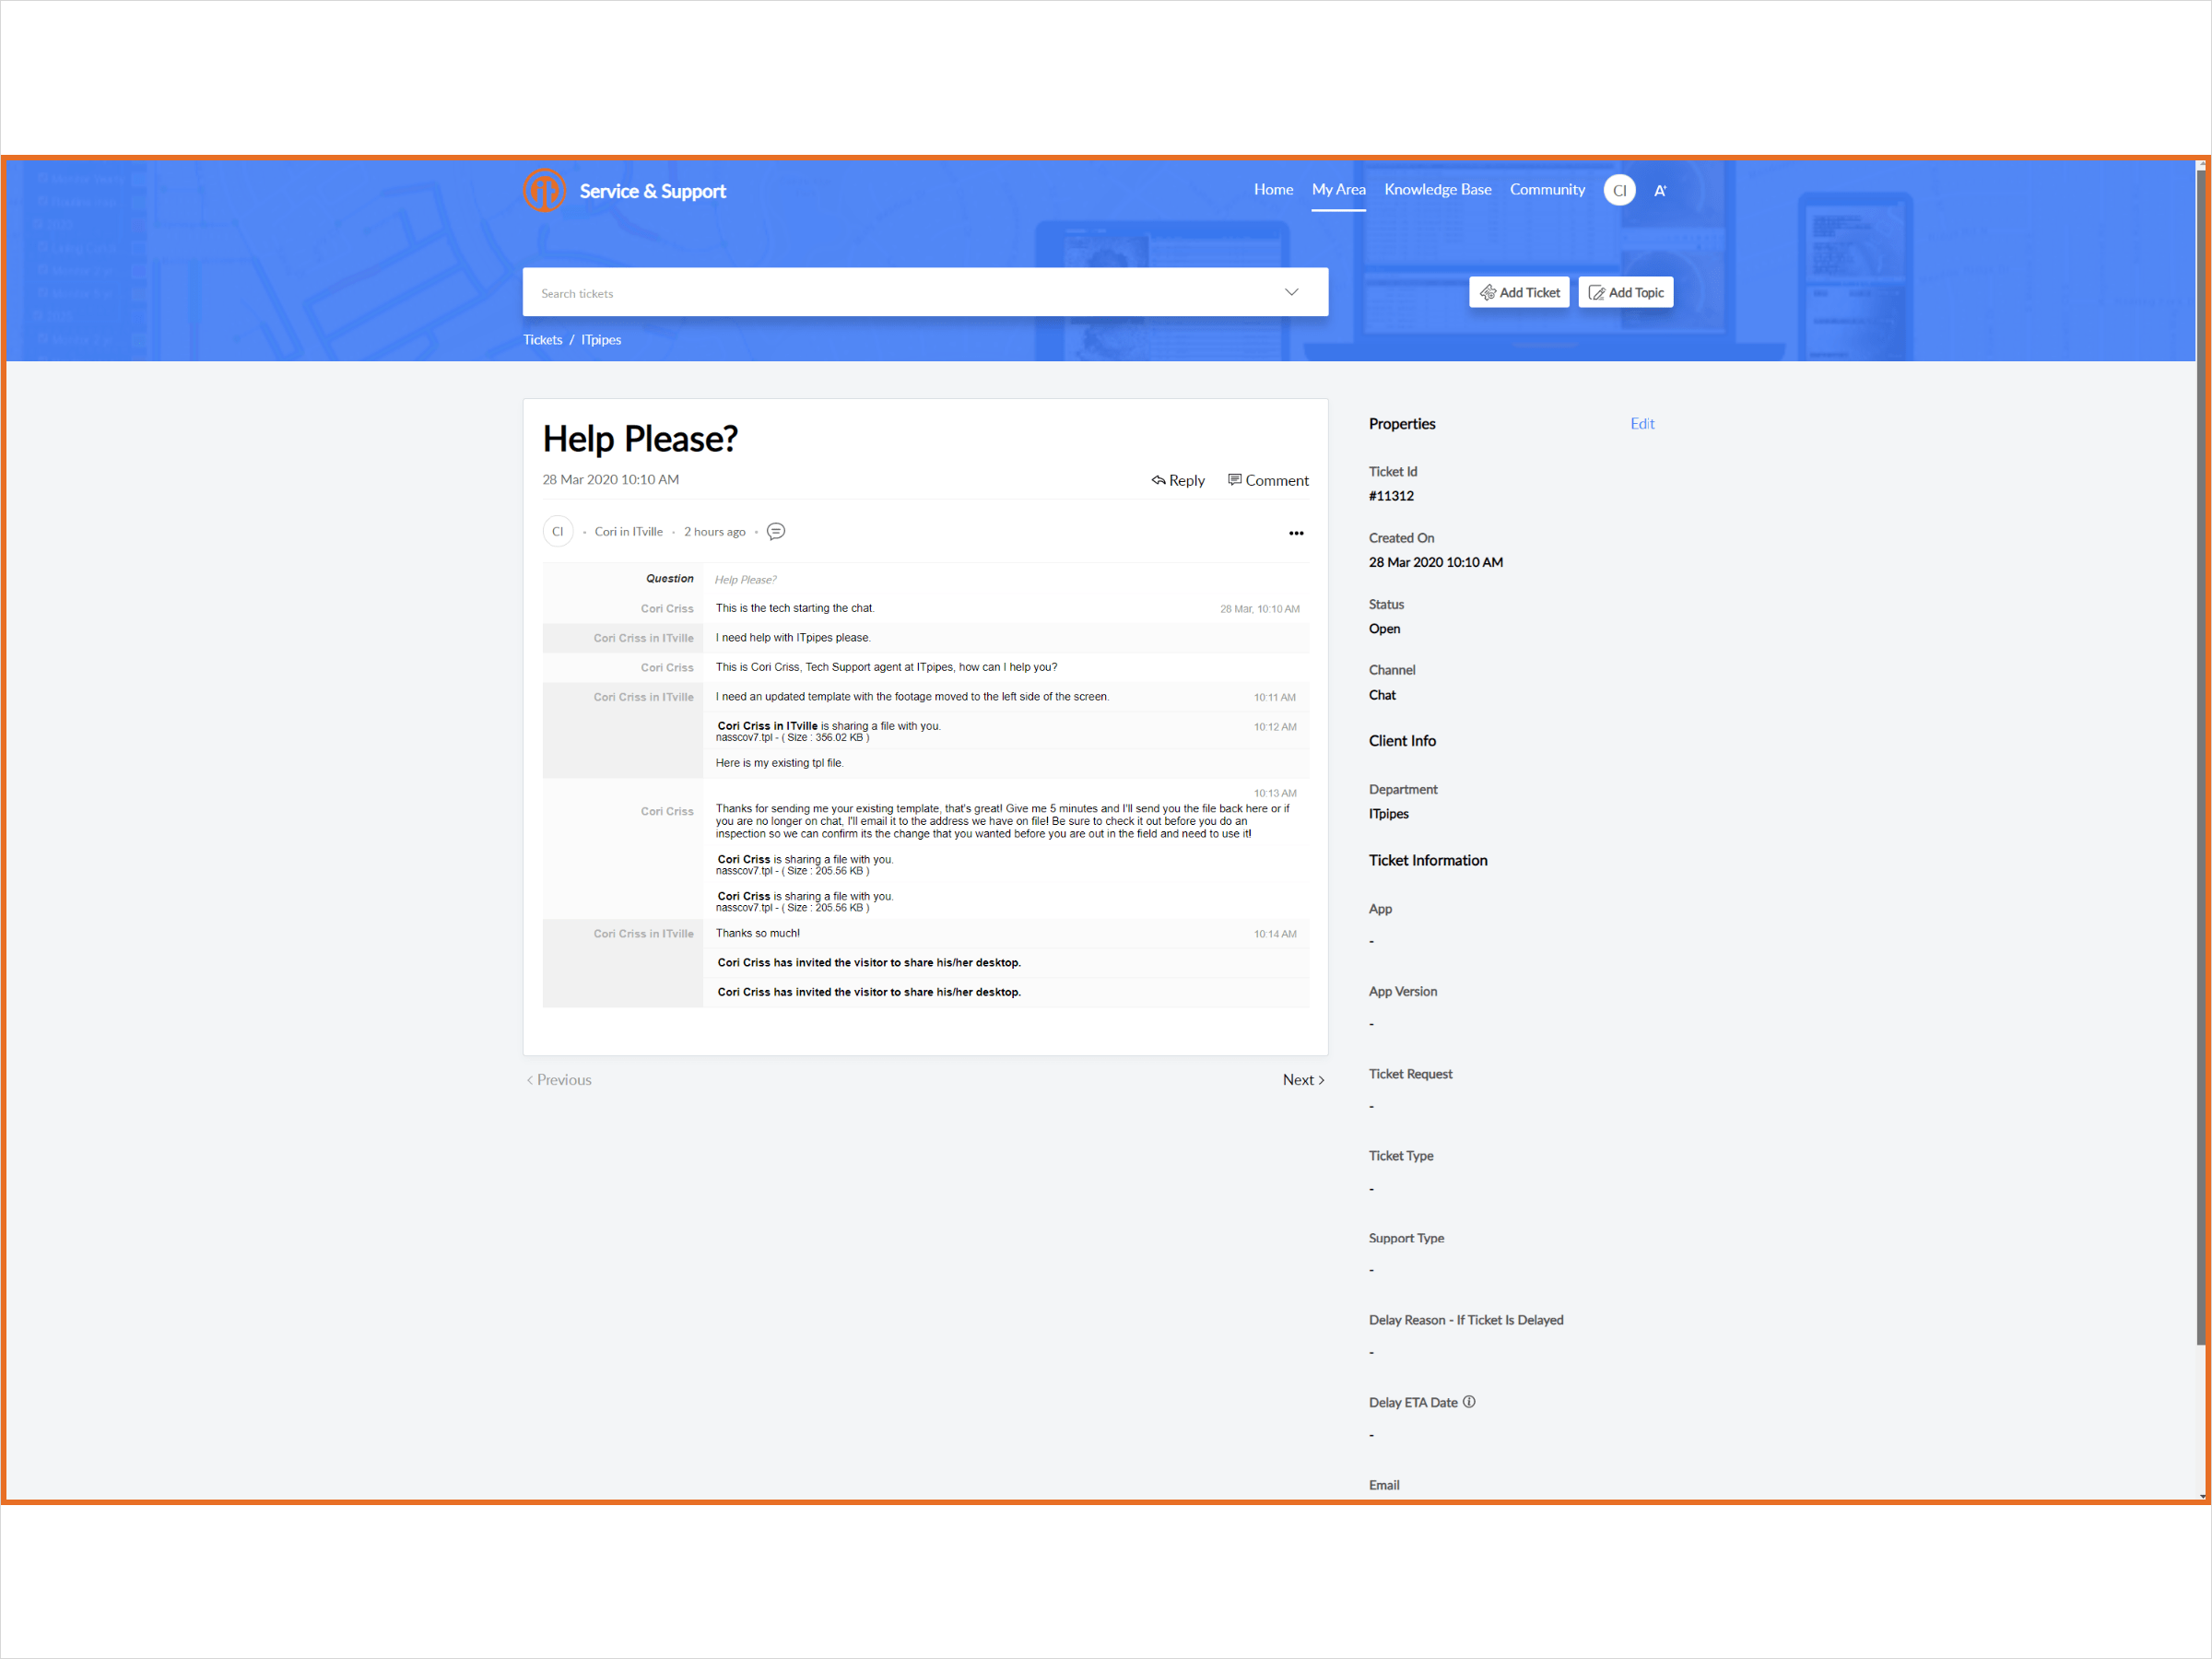
12b
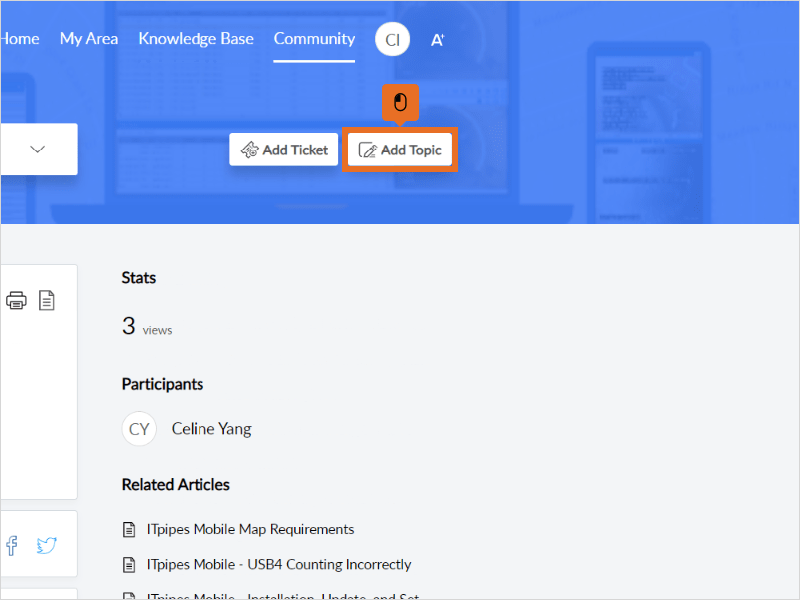
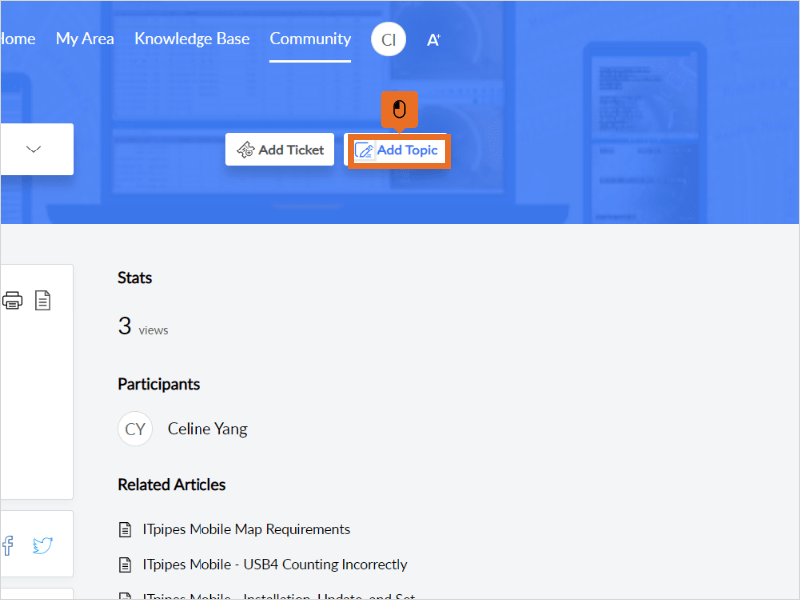
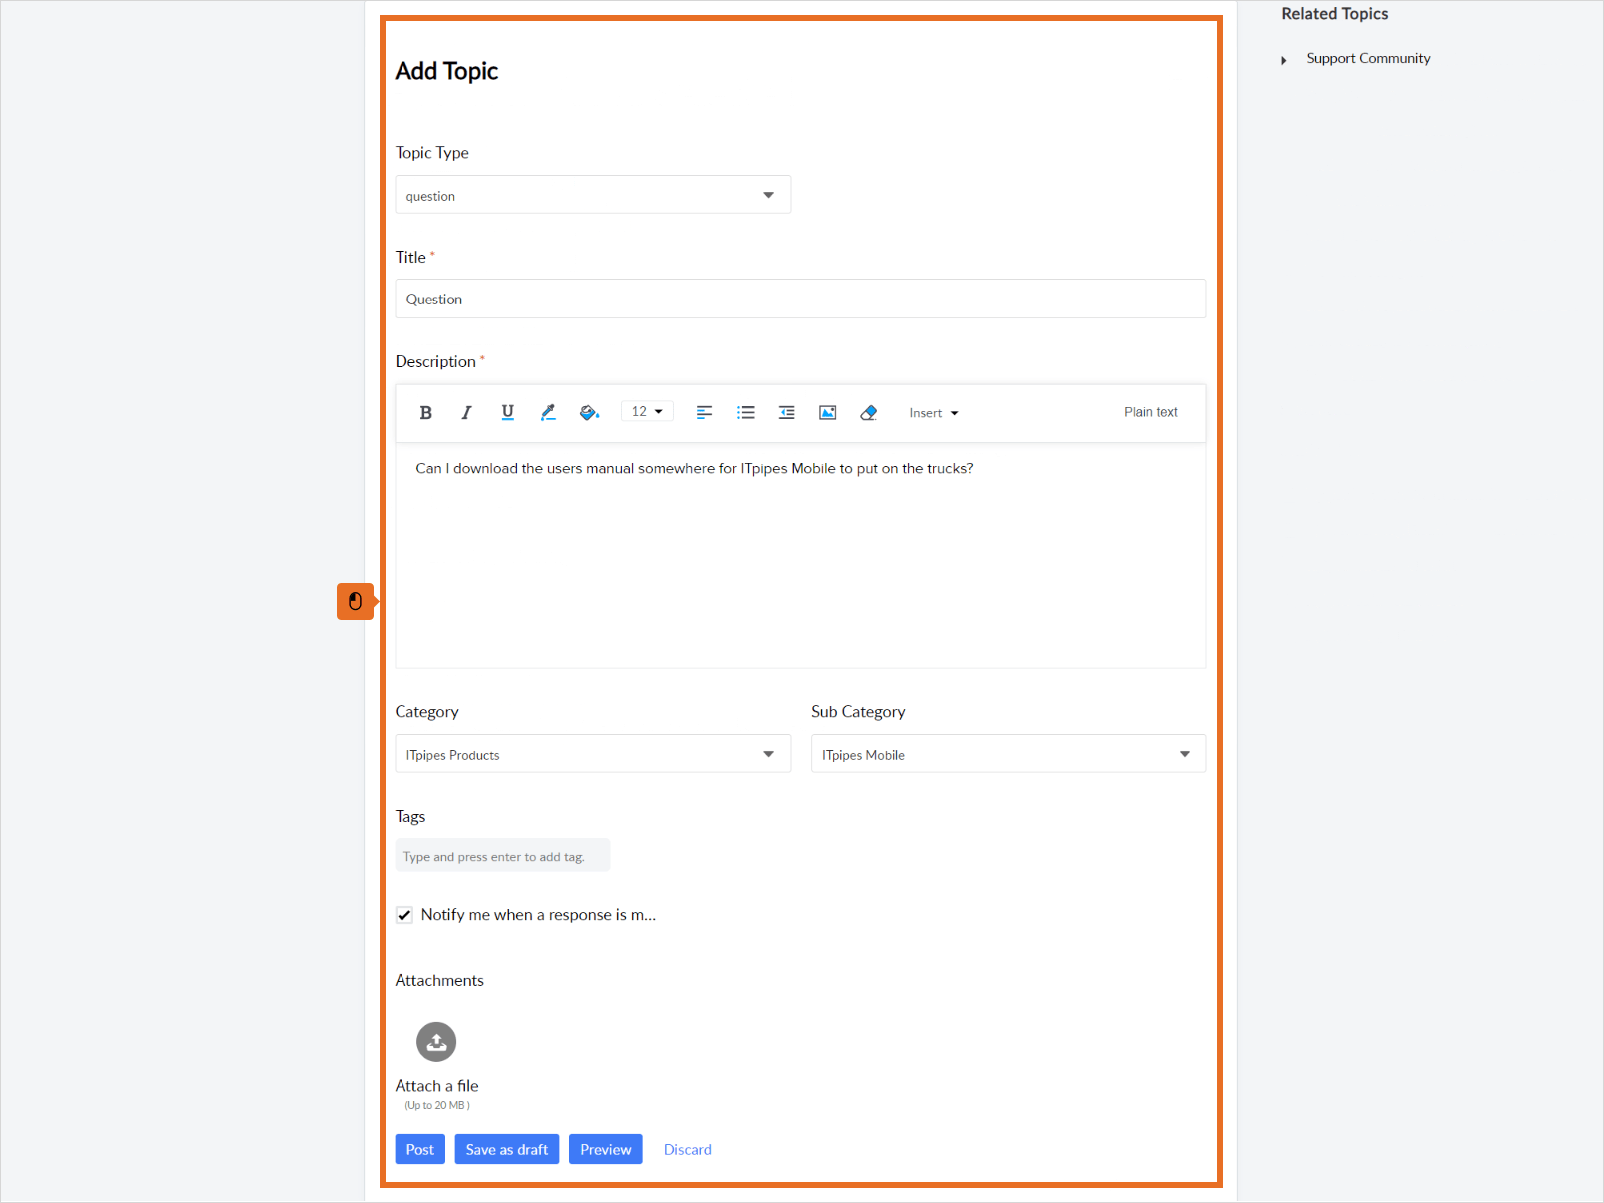
Drop

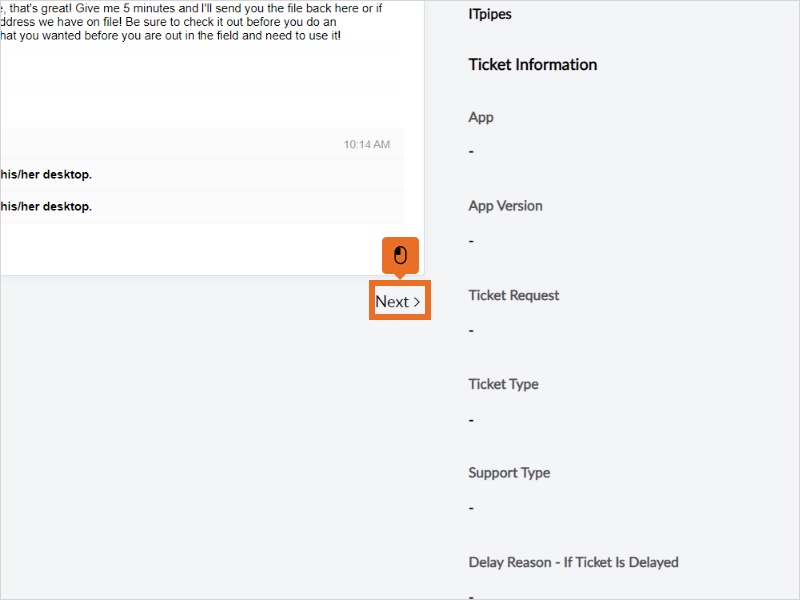
13
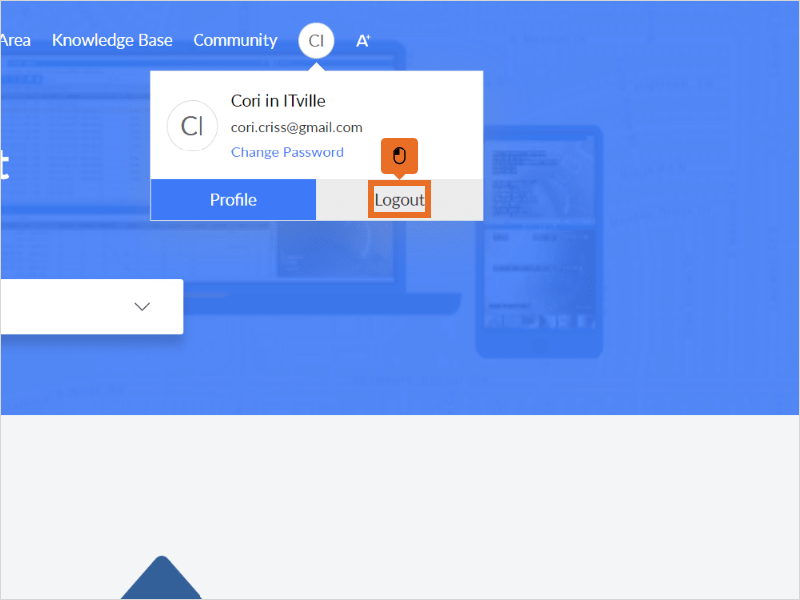
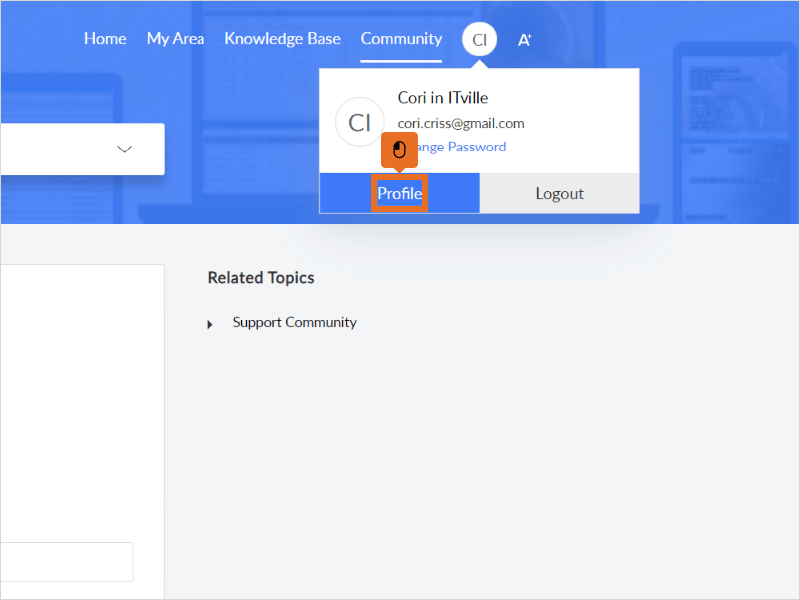
The user can easily scroll through open tickets by selecting Next.
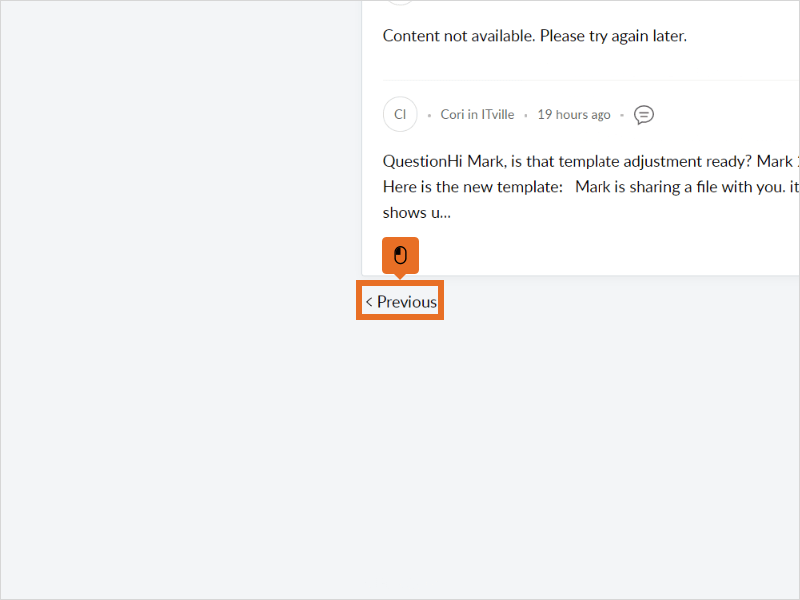
14
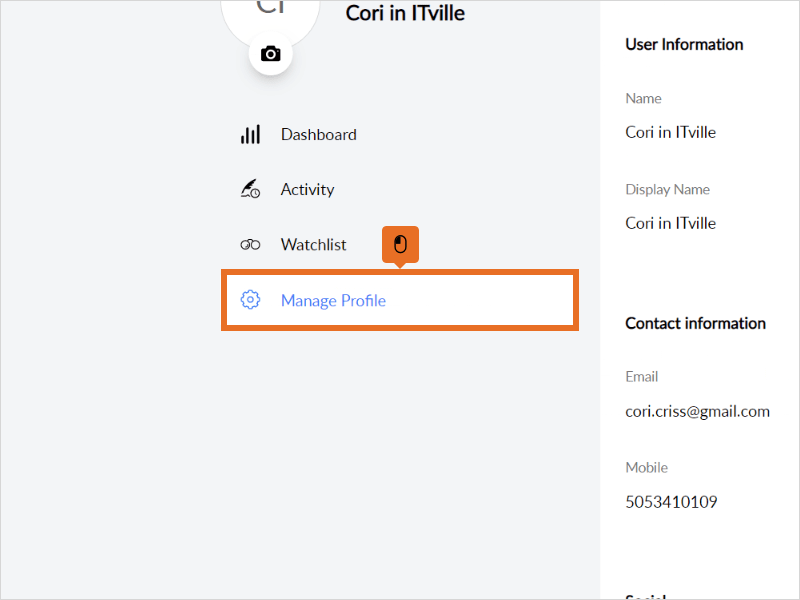
Or the user can select Previous.
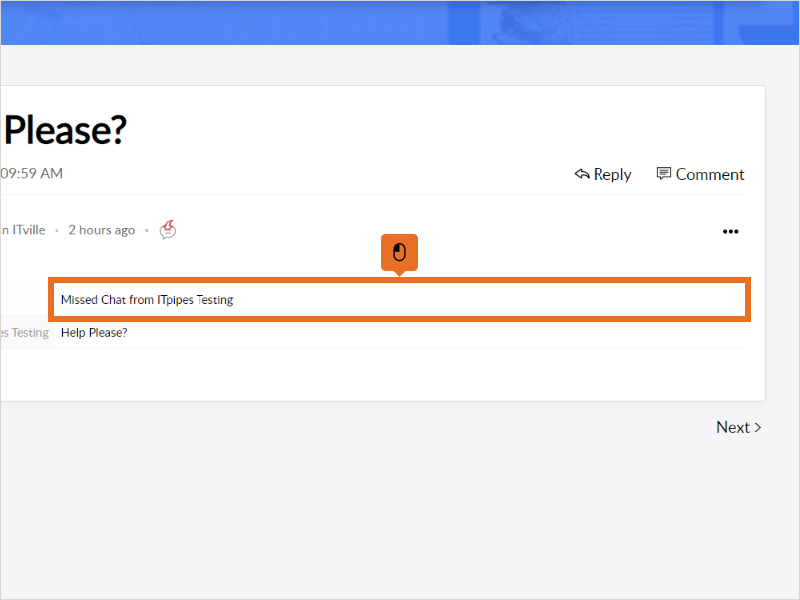
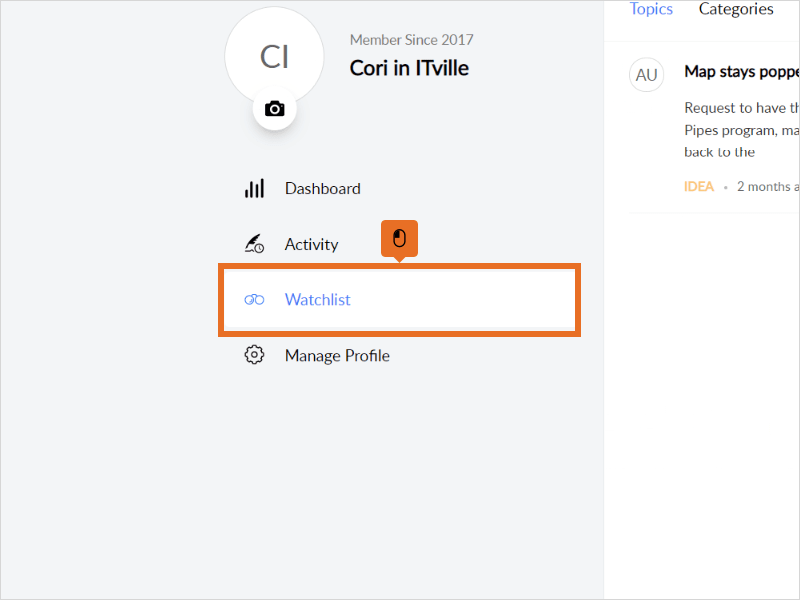
15
If a chat is started when a tech isn’t available, this message is displayed.
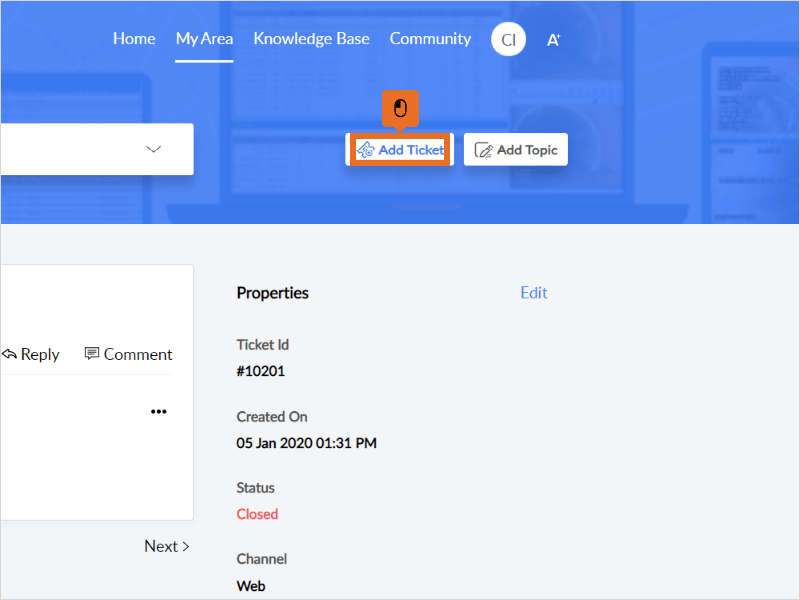
16
The user can Add a Ticket.
17
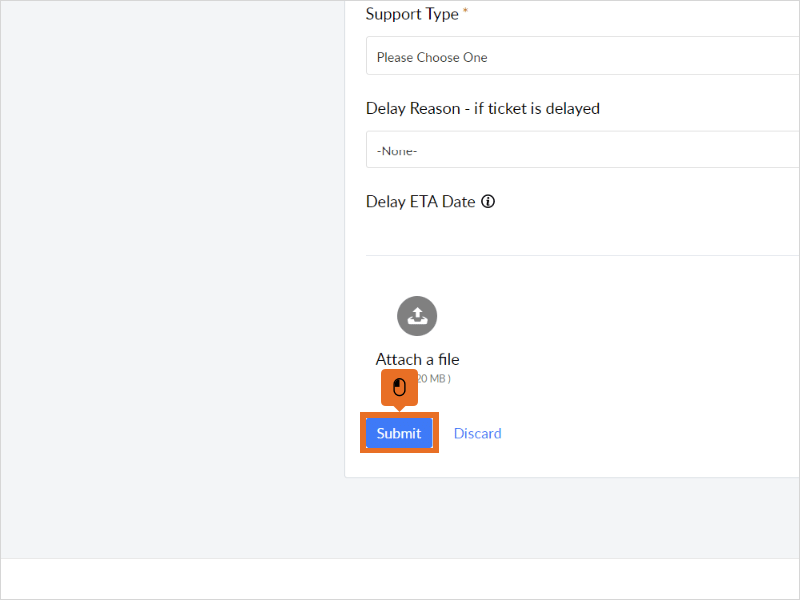
The user populates information on the ticket and scrolls down.
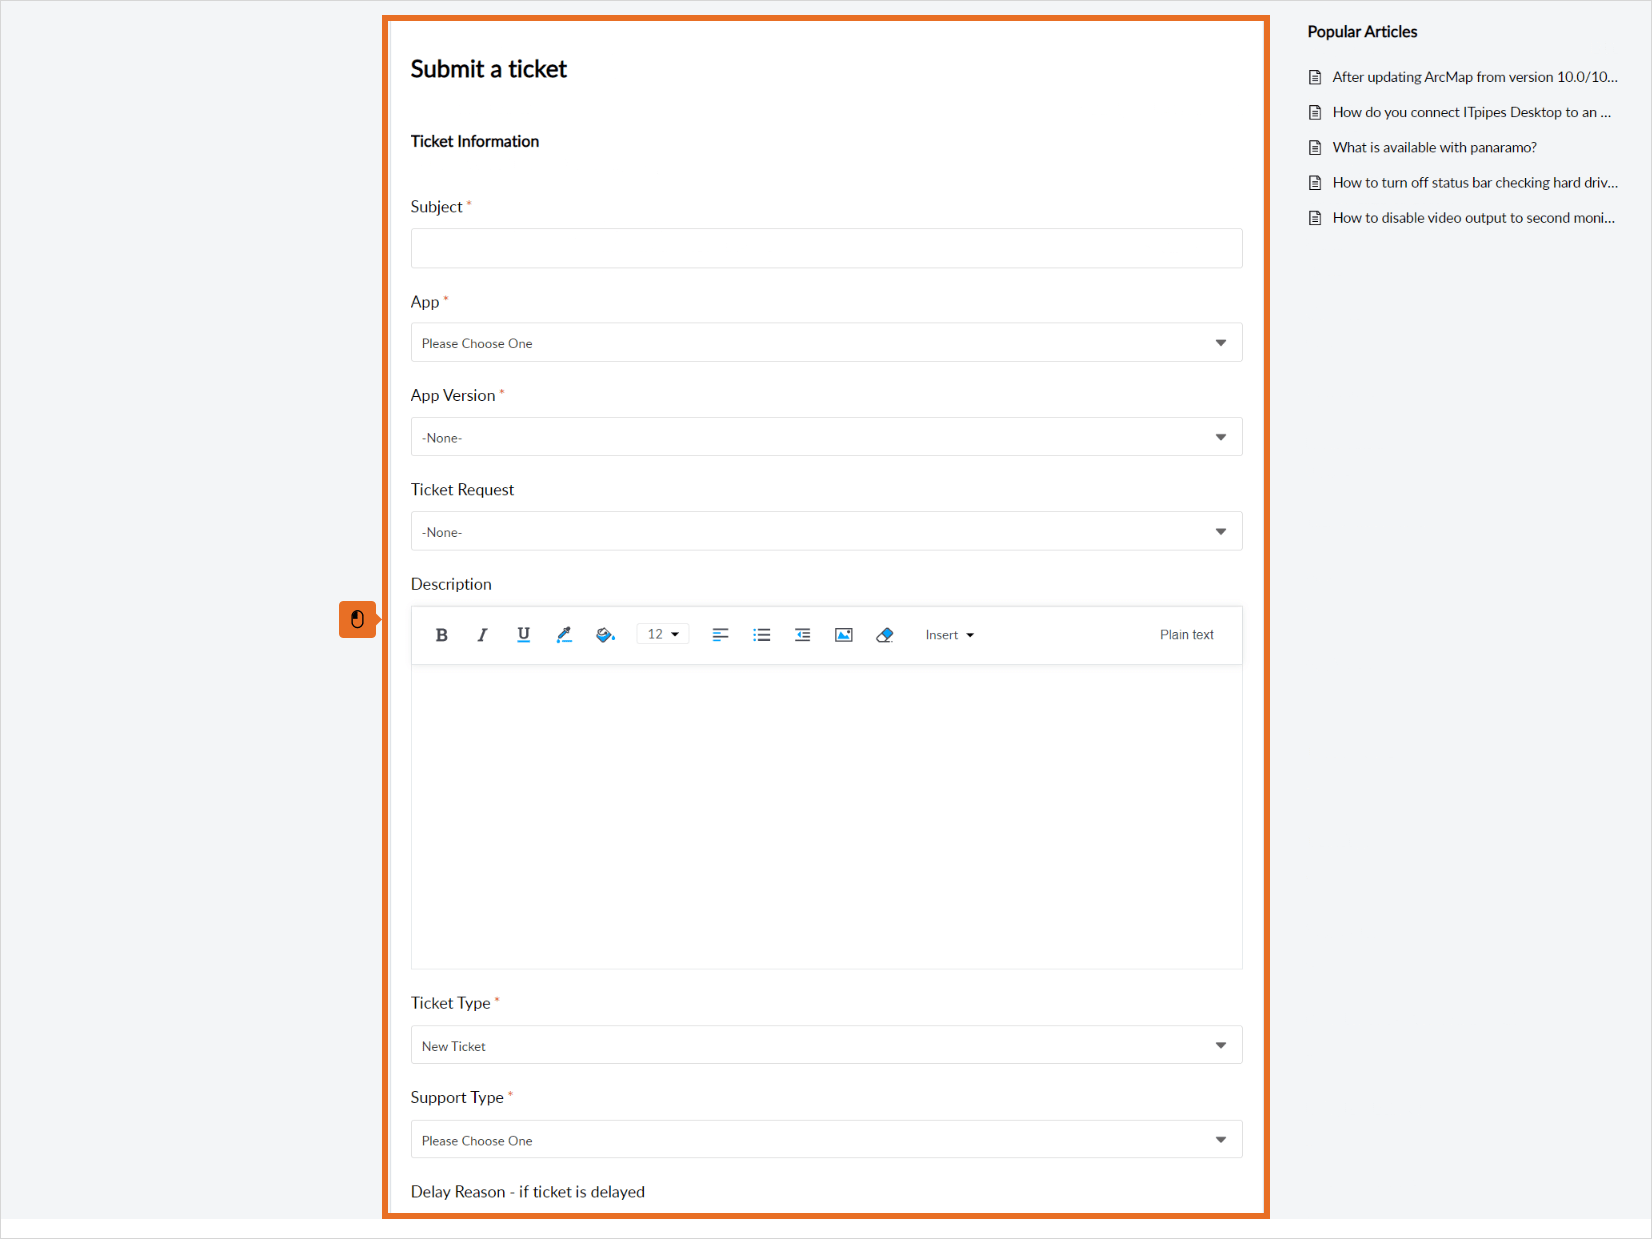
18
The user selects Submit.
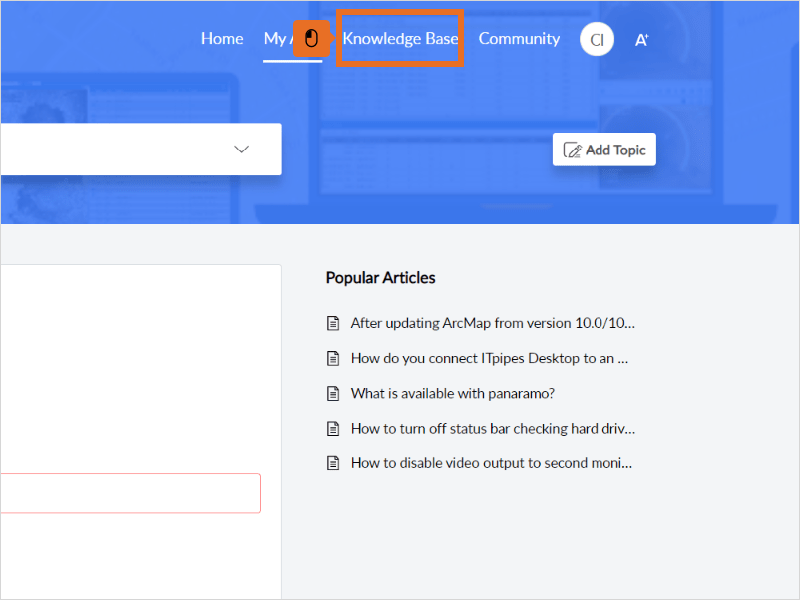
19
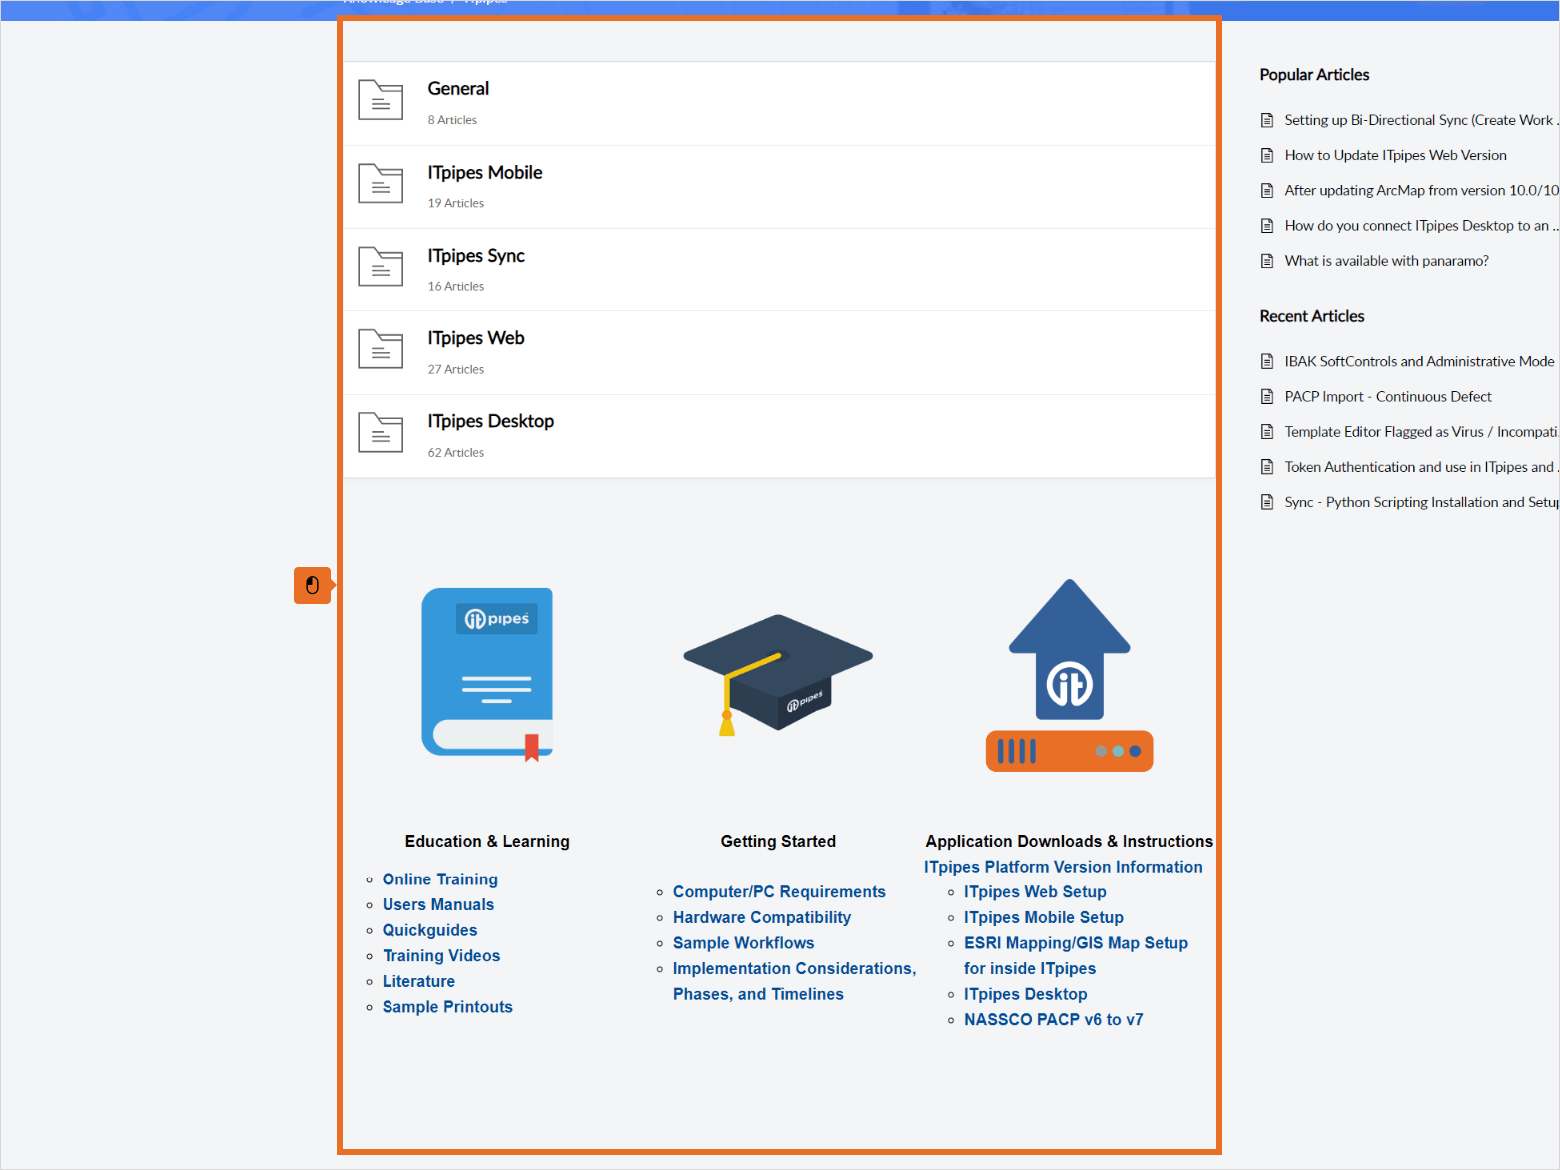
The user can open the ITpipes Support Knowledge Base.
20
This displays several categories.
21
The user can Search articles for a specific topic.
22
Relevant topics appear.
23
The user can select a knowledgebase article to open. Error: No Video Selected
24
This shows a sample kba open.
25
The user can access the Community.
26
Here you can see topics input by other users.
27
Users can open a topic and comment to offer input, ideas, or like the topic.
28
Users can also add their own topics.
29
This shows the form to input a topic.
30
The user can modify their profile information by selecting here: CI.

31
This opens the user Profile showing the user name and option to change password, also an option to open the full profile.
32
The user can select “manage profile” and this displays additional info the user can edit. The user can also share their social information.
33
The user can see their open Watchlist of topics they are following.
The user can see activity and dashboard on their usage.
34
The user can adjust font size for viewing or revise layout.
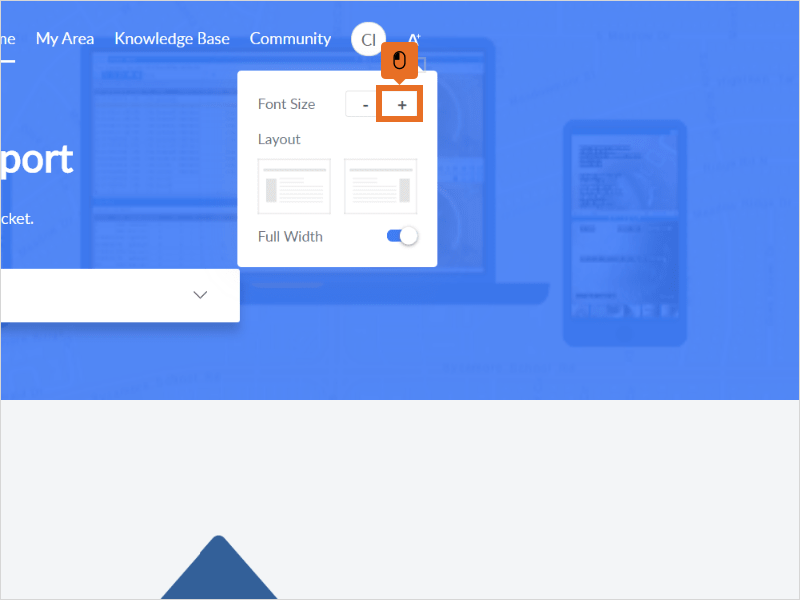
35
The user can Logout.